Rowing Out: What Is It and How to Fix It?
- Susanna
- Apr 15, 2022
- 4 min read
In this blog post I'll discuss about a common knitting problem called rowing out, what causes it, and suggest three possible solutions to fixing it.
What Is Rowing Out?
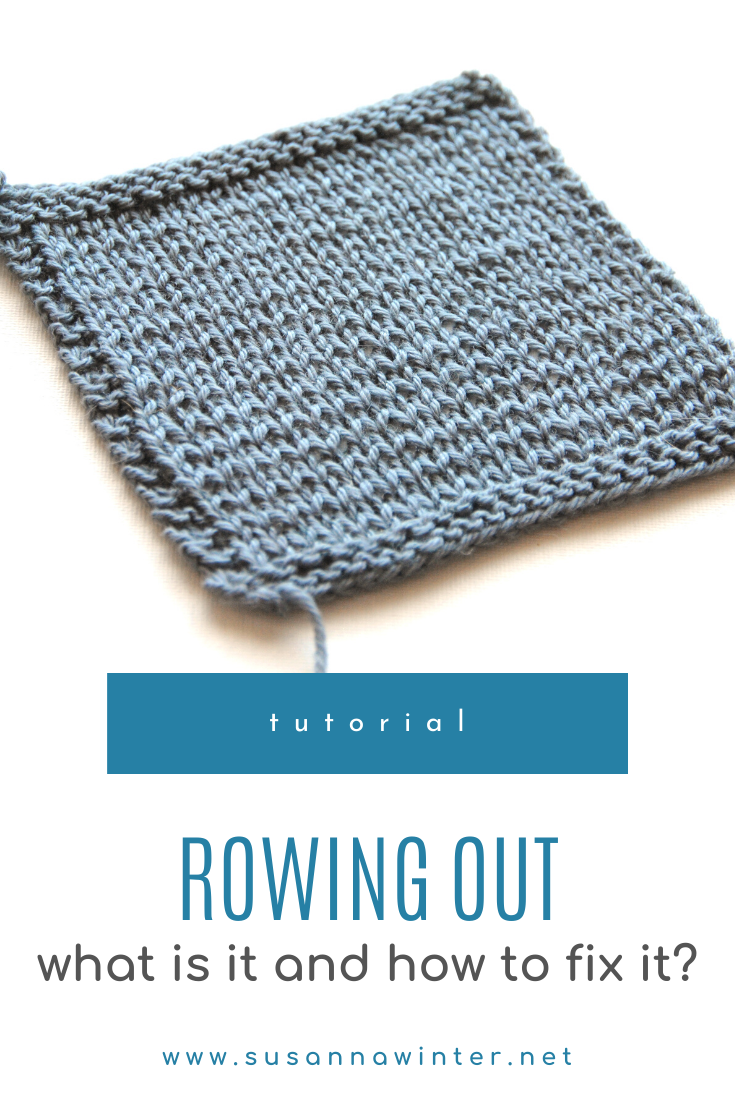
Rowing out is inconsistent tension in which every other row is looser than the one above or below it. On the stockinette side this looks like raised rows of stitches at regular intervals, causing the fabric look striped even if the yarn is all the same color.

Rowing out can be even more evident on the wrong side of the work. On the reverse stockinette side rowing out causes "gutters" or horizontal gaps between two sets of purl bumps. While you might be available to hide the gutters on the wrong side of your work in stockinette, it's quite annoying when this happens in cabled projects where the reverse stockinette lands on the right side of the work.

Most often rowing out happens when your purl stitches are looser than knit stitches although this might not be true for every knitter. When I first started knitting, I also experienced rowing out. To remedy this, I started gently tugging the working yarn after each purl stitch. Sure enough: this helped to tighten my purl tension. But I ended up over-correcting it so much that now my knits were looser! After adjusting how I tension the working yarn (more on this below) I was able to level out the tension difference. My purls are still a smidgen tighter than my knits but the difference is no longer visible. But I can feel the difference when knitting in the round versus knitting flat.

While practice makes perfect and helps to even out your knitting tension, rowing out is by no means an issue solely for beginning knitters. I recently ran into an example of this in the photos of a sweater pattern by a quite well-known designer who's been knitting for years. It's actually pretty rare for a knitter to have exact same tension in circular and flat knitting. That's why it's a good idea to swatch both ways and adjust needle size accordingly if the pattern you're working on has parts that are knit flat and parts that are knit in the round.
Here are my tips for fixing rowing out and improving your tension.
3 Ways to Fix Rowing Out
1. Change to a smaller needle for every other row
Changing to a smaller needle is a quick fix that can help as you're practicing to improve your tension. I wouldn't recommend it as a long-term solution, though.

Since rowing out is caused by having loose(r) tension on every other row, it helps to change to a smaller needle size just for those rows (usually purl or wrong-side rows). Start small: switching to a size or half a millimeter down might just be enough.
This solution is particularly easy to implement if you're using interchangeable needles. Just change one of the tips! It's the working needle that determines the size of the stitches so you'll automatically have the right size needle when you start a row. If you don't have interchangeable needles, you can use two different sizes but then you have to remember to switch needles every time you turn the work.
Using two needle sizes is helpful when your project is in stockinette (or reverse stockinette). But what if the main stitch pattern is composed of alternating knits and purls? Then a more refined solution is in order.
2. Change the way you tension the yarn
Since rowing out is caused by inconsistent knitting tension, it might help to adjust the way you tension the working yarn. The more freely the working yarn runs, the looser your stitches. And vice versa: the more obstacles you put in the yarn's way before it even reaches your work, the tighter your stitches will be.

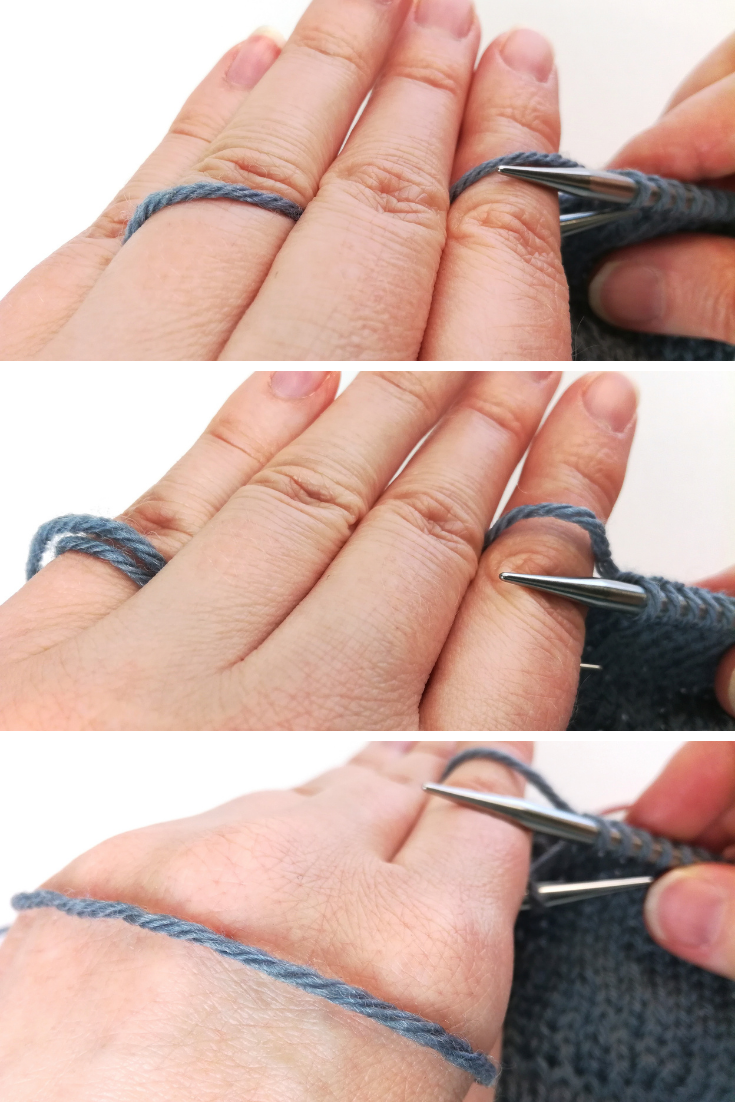
If holding the yarn just over the index finger gives you loose tension, dry draping it over and under several fingers. Some people like to wrap the yarn once or twice around their pinkie finger. My solution to tension differences was to start wrapping the working yarn around my entire palm. This makes me a very tight knitter but it also gives me consistent, even tension on both knit and purl sides of the work.
3. Change the way you purl
This solution targets the real issue of rowing out: loose purl stitches. If you're happy with the way your knit stitches look, try adjusting the tension just for purl stitches by learning a new way of purling.
Many knitters, myself included, sing the praises of the Norwegian purl. This method of purling might look very convoluted at first but many say it evens out the tension difference particularly when switching between knits and purls. Norwegian purl has the added benefit of always keeping the working yarn at the back of the work. This makes it very handy (and a bit faster!) to do any stitch pattern that's based on alternating knits and purls, such as ribbing, moss or seed stitch, or even brioche.
Another purling method to try is the Portuguese purl. Whereas in other knitting styles the yarn is tensioned in either the dominant hand (English style) or the non-dominant hand (Continental knitting), in Portuguese knitting the working yarn is draped around the back of the knitter's neck or through a special knitting pin. The way the yarn always hangs in the front of the work makes it very easy and quick to purl with just a flick of the thumb. In fact, in Portuguese knitting the purl stitch is easier to do than the knit stitch!
In addition to helping achieve even tension, many find that the economical Portuguese knitting style can also alleviate joint pain in the hands and fingers. Since the working yarn is draped around the neck, this frees the hands and reduces the motions you have to take.
If the Portuguese purl is too much of a leap, you can also try the Eastern (a.k.a. Russian) purl. Many find this method of purling easier to do than the conventional Continental purl. In fact, many beginning knitters do it instinctively!
An important thing to bear in mind, though, is that Eastern purls result in Eastern or reverse-mounted stitches. If you're not careful, this can result in twisted stitches and crossed stockinette. To prevent that, work the stitch through the leading leg on the following row. Mixing Western-mounted knits and Eastern-mounted purl makes you a combination knitter.
Pin this post!


![How to Knit Horizontal, No-sew Pockets [TUTORIAL]](https://static.wixstatic.com/media/2a6e85_390ca6ed3a134b69b8e93076c2d0c656~mv2.jpg/v1/fill/w_292,h_438,fp_0.50_0.50,q_90,enc_avif,quality_auto/2a6e85_390ca6ed3a134b69b8e93076c2d0c656~mv2.webp)
I thought this was Guttering. Isn't rowing out when the stitches at the end of a row are looser because you've collected excess yarn as you work?
This is very interesting, thank you Susanna.
I’m curious if the problem is more prevalent among Continental knitters. I’m a thrower, and other than the way I insert the needle, my tension and technique are identical for knits and purls, so I’ve never run into this issue. I can “pick” pretty easily when doing colorwork (likely made easier by my also being a crocheter) but I am really intimidated by Continental purling!